Once the server is set up, we need to get entitlements working on the client end.
What’s the Deal With “Entitlements”?
Entitlements are Apple’s name for settings that are “baked into” the app, and signal the hardware to “open certain doors” for the software. Apple requires entitlements to be present, when accessing various technology SDKs that may affect things like user privacy or security.
They are key/value pairs, in a certain signed property list file.
Associated Domains
In order to use PassKeys for a site, the app needs to specify a webcredentials associated domain, for the domain of the server. This needs to be integrated into the app, and can’t be added “on the fly.”
In Addendum A, we talked about integrating the apple-app-site-association file. This is the server component of the associated domain. This addendum discusses setting up the entitlement on the app.
Adding the Associated Domain Capability
In order to support the associated domain, we need to add the webcredentials capability.
NOTE: The examples and walkthrough are for Xcode version 18.
Step 1: Add Capability to the Xcode App Target
We start by selecting the target (The examples we give, are for the UIKit app target) in the left (Navigator) panel. This brings in the Target Panel.
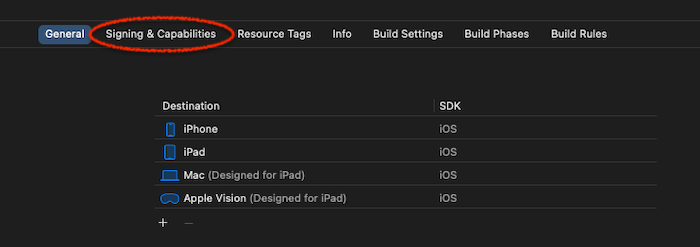
Select the “Signing & Capabilities” tab.
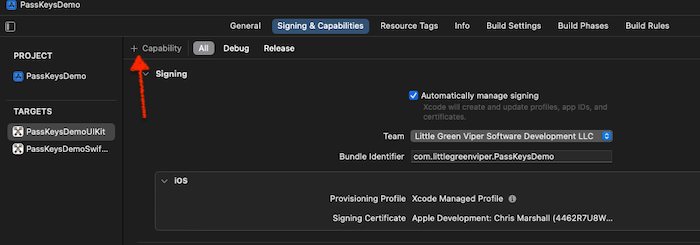
After that, select the “+ Capability” button:
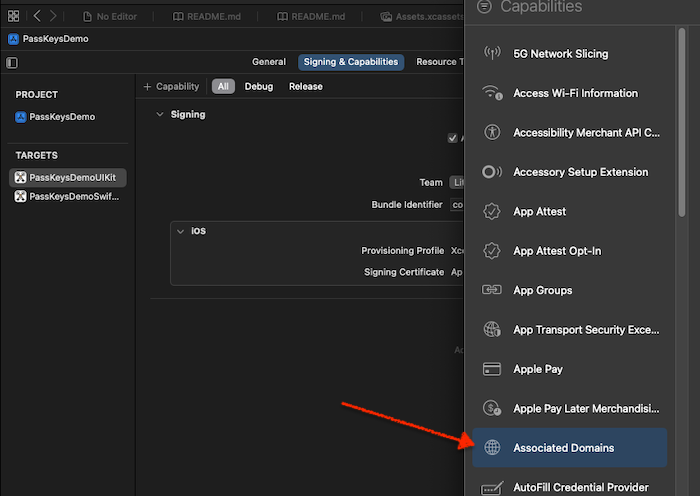
This opens a new window, entitled “Capabilities.” The capabilities are listed in alphabetical order. Select the “Associated Domains” capability:
This will add an “Associated Domains” block to the tab. Select the “+” button, to start adding your domain:
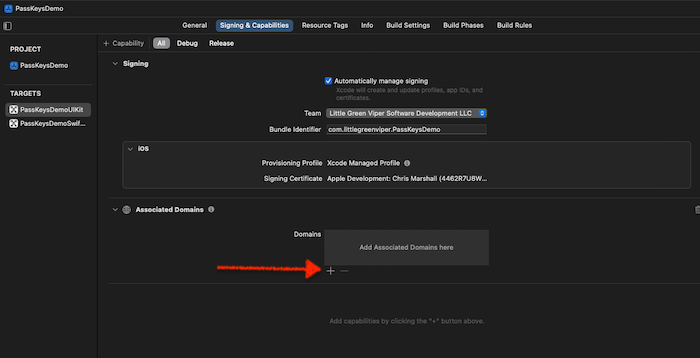
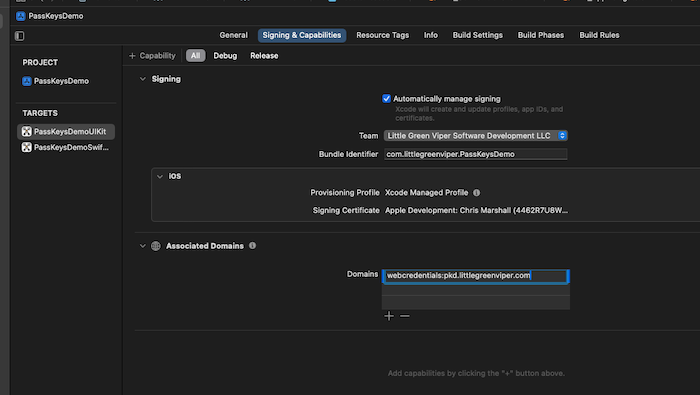
Enter “webcredentials:”, plus the fully-qualified domain name of the server. In the example, we are using my server (pkd.littlegreenviper.com). That domain root will have to have the “.well-known” directory, with the apple-app-site-association file. We covered this in Addendum A.
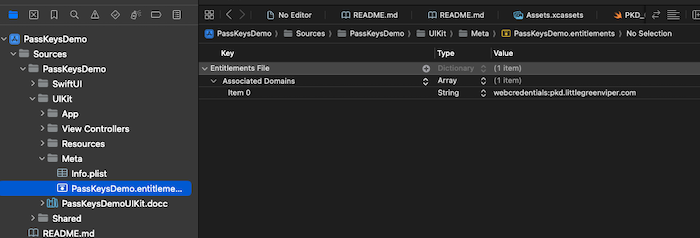
This will create a new project file, initially in the same directory as the project, that is a “PassKeysDemoUIKit.entitlements” (for the UIKit target) XML (PlList) file. In my example, I renamed the file, and also moved it.
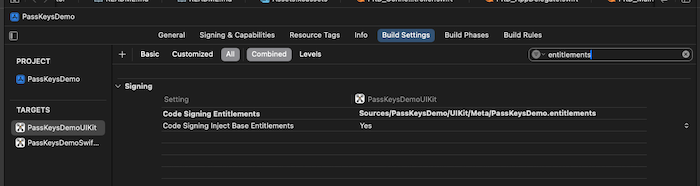
NOTE: If you rename and/or move the file (as shown in Fig. 6), then you need to find the entitlements file location in the Build Settings Tab, and change that, to point to the file (Fig. 7).
ALSO NOTE: You can’t share an entitlement file between targets. Each target needs to have its own copy of the entitlement file.